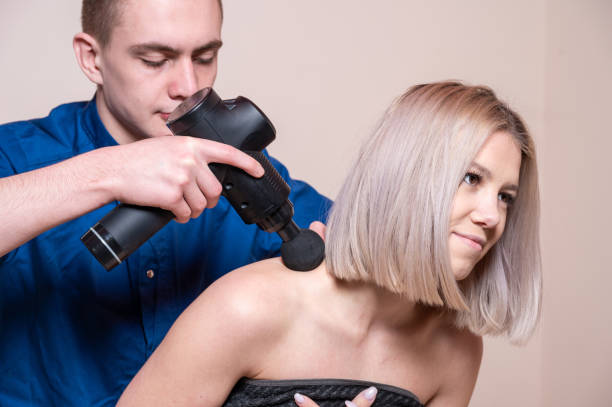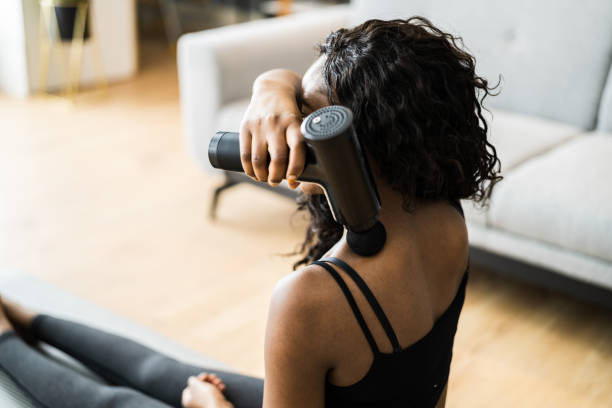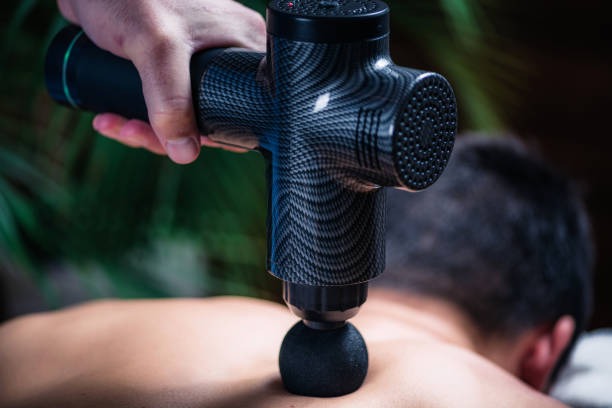
If you’re serious about peak performance and faster recovery, you probably already have a percussive massager (or “fascia gun”) in your toolbox for quick relief. But what do you do after the massage? How do you lock in those gains?
The answer is: Muscle Effect Patch .
These two tools aren’t competitors; they’re a highly complementary pair . The fascia gun provides powerful internal release , while the kinesiology tape provides external, sustained support . This combination allows you to actively “untie the knots” and then passively “guide and stabilize” the muscles over the following days, for a truly optimized dual recovery effect.
Here’s a guide on how to strategically utilize this powerful duo to maximize your body’s recovery.
Understanding the Dual Action Principle: Complementary Recovery Mechanisms
The synergy between the fascia gun and the Kinesio Tape works because they target different, yet interconnected, parts of the muscle and fascia system.
Complementary recovery mechanisms
| tool | Mechanism of action | Main objectives |
| Massage Gun | Nerve Shock: High-frequency shocks stimulate sensory receptors, instantly reducing muscle tension. | Immediate relaxation (acute phase), pain relief, and increased joint range of motion (ROM). |
| K-Tape | Mechanical lifting: The elastic rebound force of the patch lifts the skin, creating space under the skin, improving lymph flow and proprioception. | Ongoing support (chronic phase), reduces swelling, improves posture/movement awareness, stabilizes joints. |
Core Strategy: You first use the fascia gun to quickly release stiffness and tension, i.e., unlock the muscles . Then, you immediately apply the muscle tape to stabilize and guide these newly relaxed muscles, ensuring that the effect lasts even after the fascia gun is turned off.
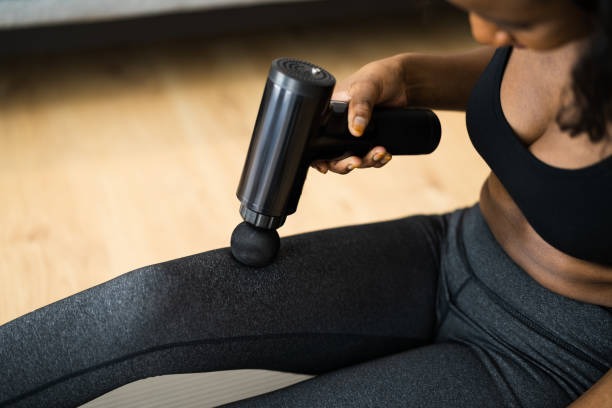
Best Practices: Three-Phase Recovery Plan
For maximum effectiveness, use the Massage Gun and Tape together in three phases:
1. Phase 1: Pre-taping pre-treatment – fascia gun unlocks muscles
Before applying Kinesiology Taping, the muscle tissue must be relaxed. Applying tape to already tight and stiff muscles will limit the therapeutic lifting effect of the tape.
Goal: To quickly reduce muscle tension and locate and relax any stubborn trigger points .
Fascia gun skills:
Using the ball or flat head at low to medium settings, perform a quick 60-90 second scan and release across the entire target muscle group (such as the calves or upper trapezius).
If you encounter a significant, painful trigger point , switch to the bullet tip , applying gentle pressure and holding for 15–30 seconds to initiate a deeper relaxation.
Key: Make sure your skin is clean and completely dry before moving on to the next stage – oil or moisture can break down the patch’s adhesive.
2. Second stage: After the impact – Kinesio taping
Once the muscles have become soft and relaxed through the percussive massage, the tensioning effect of the Kinesiology Tape will be more effective.
Goal: To stabilize a joint, support an injured movement, or provide continued lymphatic drainage.
Tips for using the Skin Tape (choose your application method):
Pain/Relaxation Tape Method: Apply the tape with minimal tension (0%-25%) to the muscle that has just been relaxed by the fascia gun. The lifting effect of the tape helps relieve pressure on pain receptors and enhance circulation.
Support tape method: Use moderate tension (50%~75%) on muscles or joints that require external stabilization support during exercise (such as knee joints that need to be strengthened when running) .
Swelling Reduction/Lymphatic Drainage Method: Cut the patch into an “octopus claw” or “fan” shape and apply it to the swollen area with zero tension. This lifts the skin and maximizes lymphatic drainage, a function that a fascia gun cannot replicate.
3. Phase 3: Sustained Recovery – 24/7 Collaboration
Once the patch is applied, the Dual Recovery System begins working 24/7.
The tape’s ongoing effects: It provides continuous proprioceptive feedback (gently reminding you to maintain better posture) and fascial lift , accelerating the removal of metabolic waste and keeping tissues flexible.

The role of the fascia gun: Avoid taped areas! For the next few days, use your massage gun only on untaped muscle groups (for example, if you have taped your legs, focus on your back and shoulders).
The combined effect is the perfect embodiment of the “lift first, stabilize later” approach, which not only maximizes acute recovery speed but also improves your movement patterns through the continuous guidance of the Kinesiology Tape.
CRITICAL SAFETY WARNING: NEVER USE A FASCIA GUN ON TAPE!
Here are the most important rules for doing this recovery scenario:
Under no circumstances should a massage gun be used directly on areas where the fascia tape is applied!
Adhesive damage: High-frequency vibrations and shocks can instantly destroy the adhesive of the patch , causing it to fall off prematurely and lose its therapeutic effectiveness.
Risk of Skin Injury: The rapid movement of the tape combined with pressure may cause excessive shearing forces on the skin , resulting in irritation, blisters, or bruising.
Always use the fascia gun on untaped muscle areas, or completely remove the tape before performing shock release on that specific area.
Have you tried combining these two tools? Share your favorite muscle groups for massage with a massage gun and taping with a massage gun in the comments!