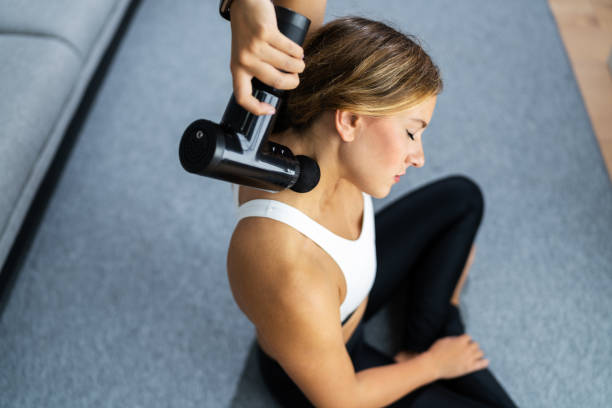
Welcome to the modern office routine: You’re staring at a screen, catching up on a task, when suddenly your neck feels like it’s been pumped with lead and your forearms tense like a fully drawn bowstring. This tech neck and mouse hand (forearm tendinitis/fatigue), brought on by long hours at a desk, are workplace injuries common among nearly every working professional.
You may know the fascia gun as a powerful tool for sports recovery, but it’s also effective for relieving static fatigue . However, because the shoulder, neck, and forearm areas are relatively weak in muscle tissue and densely packed with nerves and blood vessels, blindly using a fascia gun can be dangerous. Today, we’ll provide a safe, effective, and American-style fascia gun usage plan to help you quickly and accurately relieve office-related muscle alarms.
Recovery principles for office workers: precise, gentle, and fast
The logic behind using a fascia gun for an office worker is different from that for a professional athlete. Your goal isn’t to deeply repair micro-tears, but to quickly loosen up superficial muscle tension and stiffness caused by prolonged fixed posture .
1. Strength Control: Forget the myth that “the more pain, the better”
Extremely low gear is your friend: Whether it’s shoulders, neck, or forearms, you should start at the lowest gear (1-2). The muscle groups in these areas are small and sensitive, and high-intensity impact can easily cause overstimulation or even injury.
Perception principle: The pain sensation should remain at the level of “mild, acceptable soreness”. Once you feel tingling or discomfort, you should immediately reduce the intensity or stop.
2. Duration Control: Short-term and Efficient “Quick Fix”
The purpose of the fascia gun is to release quickly, and staying there for a long time will only be counterproductive.
Shoulder and Neck (Unilateral): Targets major areas of tension, such as the upper trapezius, for a total duration of no more than 1 minute .
Forearm (one muscle group): Target either the flexor or extensor muscles, for a total duration of no more than 30-60 seconds .
Key points of the technique: Keep the gun tip close to the skin and move slowly . Do not press on the pain point for a long time like a pile driver.
3. Tip Selection: Buffering is King
To be safe, avoid gun tips that have too much penetrating power:
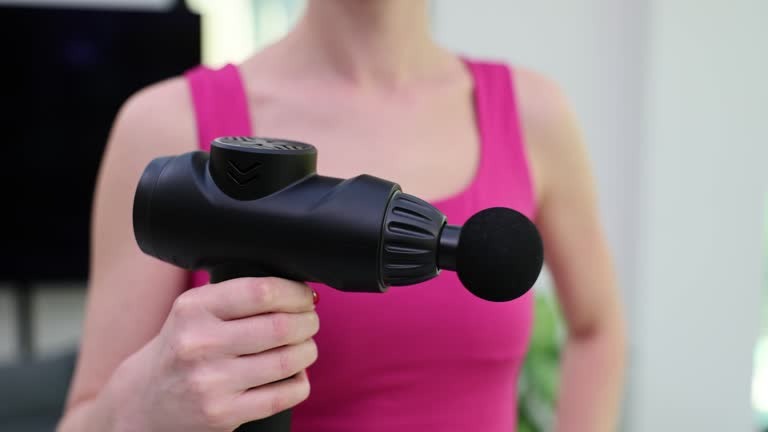
Highly recommended: Flat head or air-filled/cushion head . They have a large contact area, can disperse the impact force, and provide gentle and even vibration to the muscle tissue.
Do not use: Bullet-shaped or U-shaped heads . Bullet-shaped heads have too much penetrating power, while U-shaped heads can easily contact sensitive structures on the spine or sides of the cervical spine.
Targeted technique 1: Relieve the alarm of “iron plate” shoulders and neck
The stiffness of office workers is mainly concentrated in the upper trapezius muscle, which is responsible for your “shrugging” action and is also the one that bears the greatest pressure.
Targets: Upper trapezius (your “shrug” muscles)
This muscle runs from the back side of the neck to the top of the shoulder and is often the culprit for the “sore shoulders” we feel.
Preparation: Select flat head or air head and start at the lowest gear .
Locating: Use your hands to find the muscle belly that feels the hardest and tightest (usually the most prominent spot when you shrug).
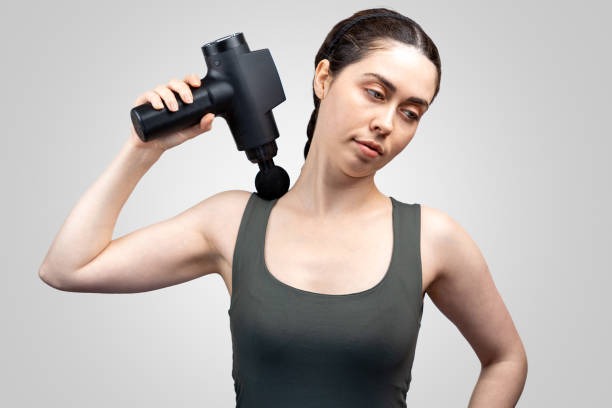
Technique: Gently press the fascia gun against the muscle and sweep it back and forth slowly and in a controlled manner along the direction of the muscle fibers (diagonally from the neck to the shoulder) .
Duration: About 45-60 seconds per side .
Neck “red alert zone”: Don’t touch these places!
the number one safety rule for using a fascia gun and should never be compromised:
Cervical vertebrae/spine: Direct impact to any bone or spine is strictly prohibited .
Side and front of the neck: Avoid touching these areas. The carotid artery , vital blood vessels, and nerves are located here . Incorrect impacts can result in serious medical consequences. Use the fascia gun only on areas protected by thick muscle.
Targeted technique 2: Relieve “mouse hand” and forearm tension
Mouse hand (or forearm fatigue) mainly involves the flexor muscles (responsible for gripping) and extensor muscles (responsible for lifting the hand) of the forearm .
Target area A: Forearm flexor muscles (palm side)
This muscle is most stressed when you hold the mouse for extended periods of time.
Preparation: Choose a flat head or a small round head and keep it on the lowest setting .
Positioning: With your arms relaxed and your palms facing up, target the thick muscle group on the inside of your forearms near your elbows.
Technique: Slowly move horizontally along the direction of the muscles ( from wrist to elbow ) , focusing on relaxing the muscle bellies that feel particularly tight.
Duration: About 30 seconds per side .
Target area B: Forearm extensor muscles (dorsum of the hand)
This muscle is responsible for lifting the back of your hand and fingers.
Preparation: Maintain lowest gear .
Positioning: With your arms relaxed and your palms facing down, position the muscles on the outside of your forearms.
Technique: Slowly move horizontally along the direction of the muscle ( from the back of the hand to the elbow ) .
Duration: About 30 seconds per side .
Wrist “Red Alert Zone”: Hand No-Go Zone
Joints and bones: Avoid impacting wrist joints, elbow joints , or any protruding bones.
Palms/backs of hands: There is very little muscle tissue in these areas, so direct impact is strictly prohibited to avoid damaging the nerves.
The fundamental solution: correcting posture and stretching are the best
The fascia gun is a powerful “firefighter”, but it only treats the symptoms and not the root cause . If you don’t change the root cause of your pain – bad posture, the pain will soon come back.
1. Optimize your workstation (Workstation Ergonomics)
The Screen Rule: Make sure the top of your computer screen is at eye level to enforce a neutral head posture.
The Elbow Rule: Make sure your elbows hang naturally, close to your body, and that your keyboard and mouse are positioned so your forearms are parallel to the floor and your wrists are in a neutral position (not bent excessively up or down).
Alarm Clock Rule: Set an alarm and stand up and move for 3-5 minutes every hour , doing some simple stretching or walking.
2. Daily stretching: more important than any tool
Incorporate these simple stretches into your break time:
Lateral neck and shoulder stretch: Slowly tilt your head to one side. Use your hand on the same side to gently support your head and apply slight pressure. Feel the opposite neck muscles gently stretch. Hold for 20-30 seconds .
Forearm flexor stretch: Straighten your arm with your palm facing up. Grab the fingers of one hand with your other hand and gently stretch downward.
Forearm extensor stretch: Straighten your arm, palm down, and gently stretch the back of your hand downward.
an efficient “finish” after your daily stretching and mobility exercises can truly achieve long-term, pain-free work. Have you made the necessary adjustments to your desk posture?